webhook / REST
A task can also be created and monitored via REST using webhooks. You can easily create a webhook in the Task Template view and copy the URL.
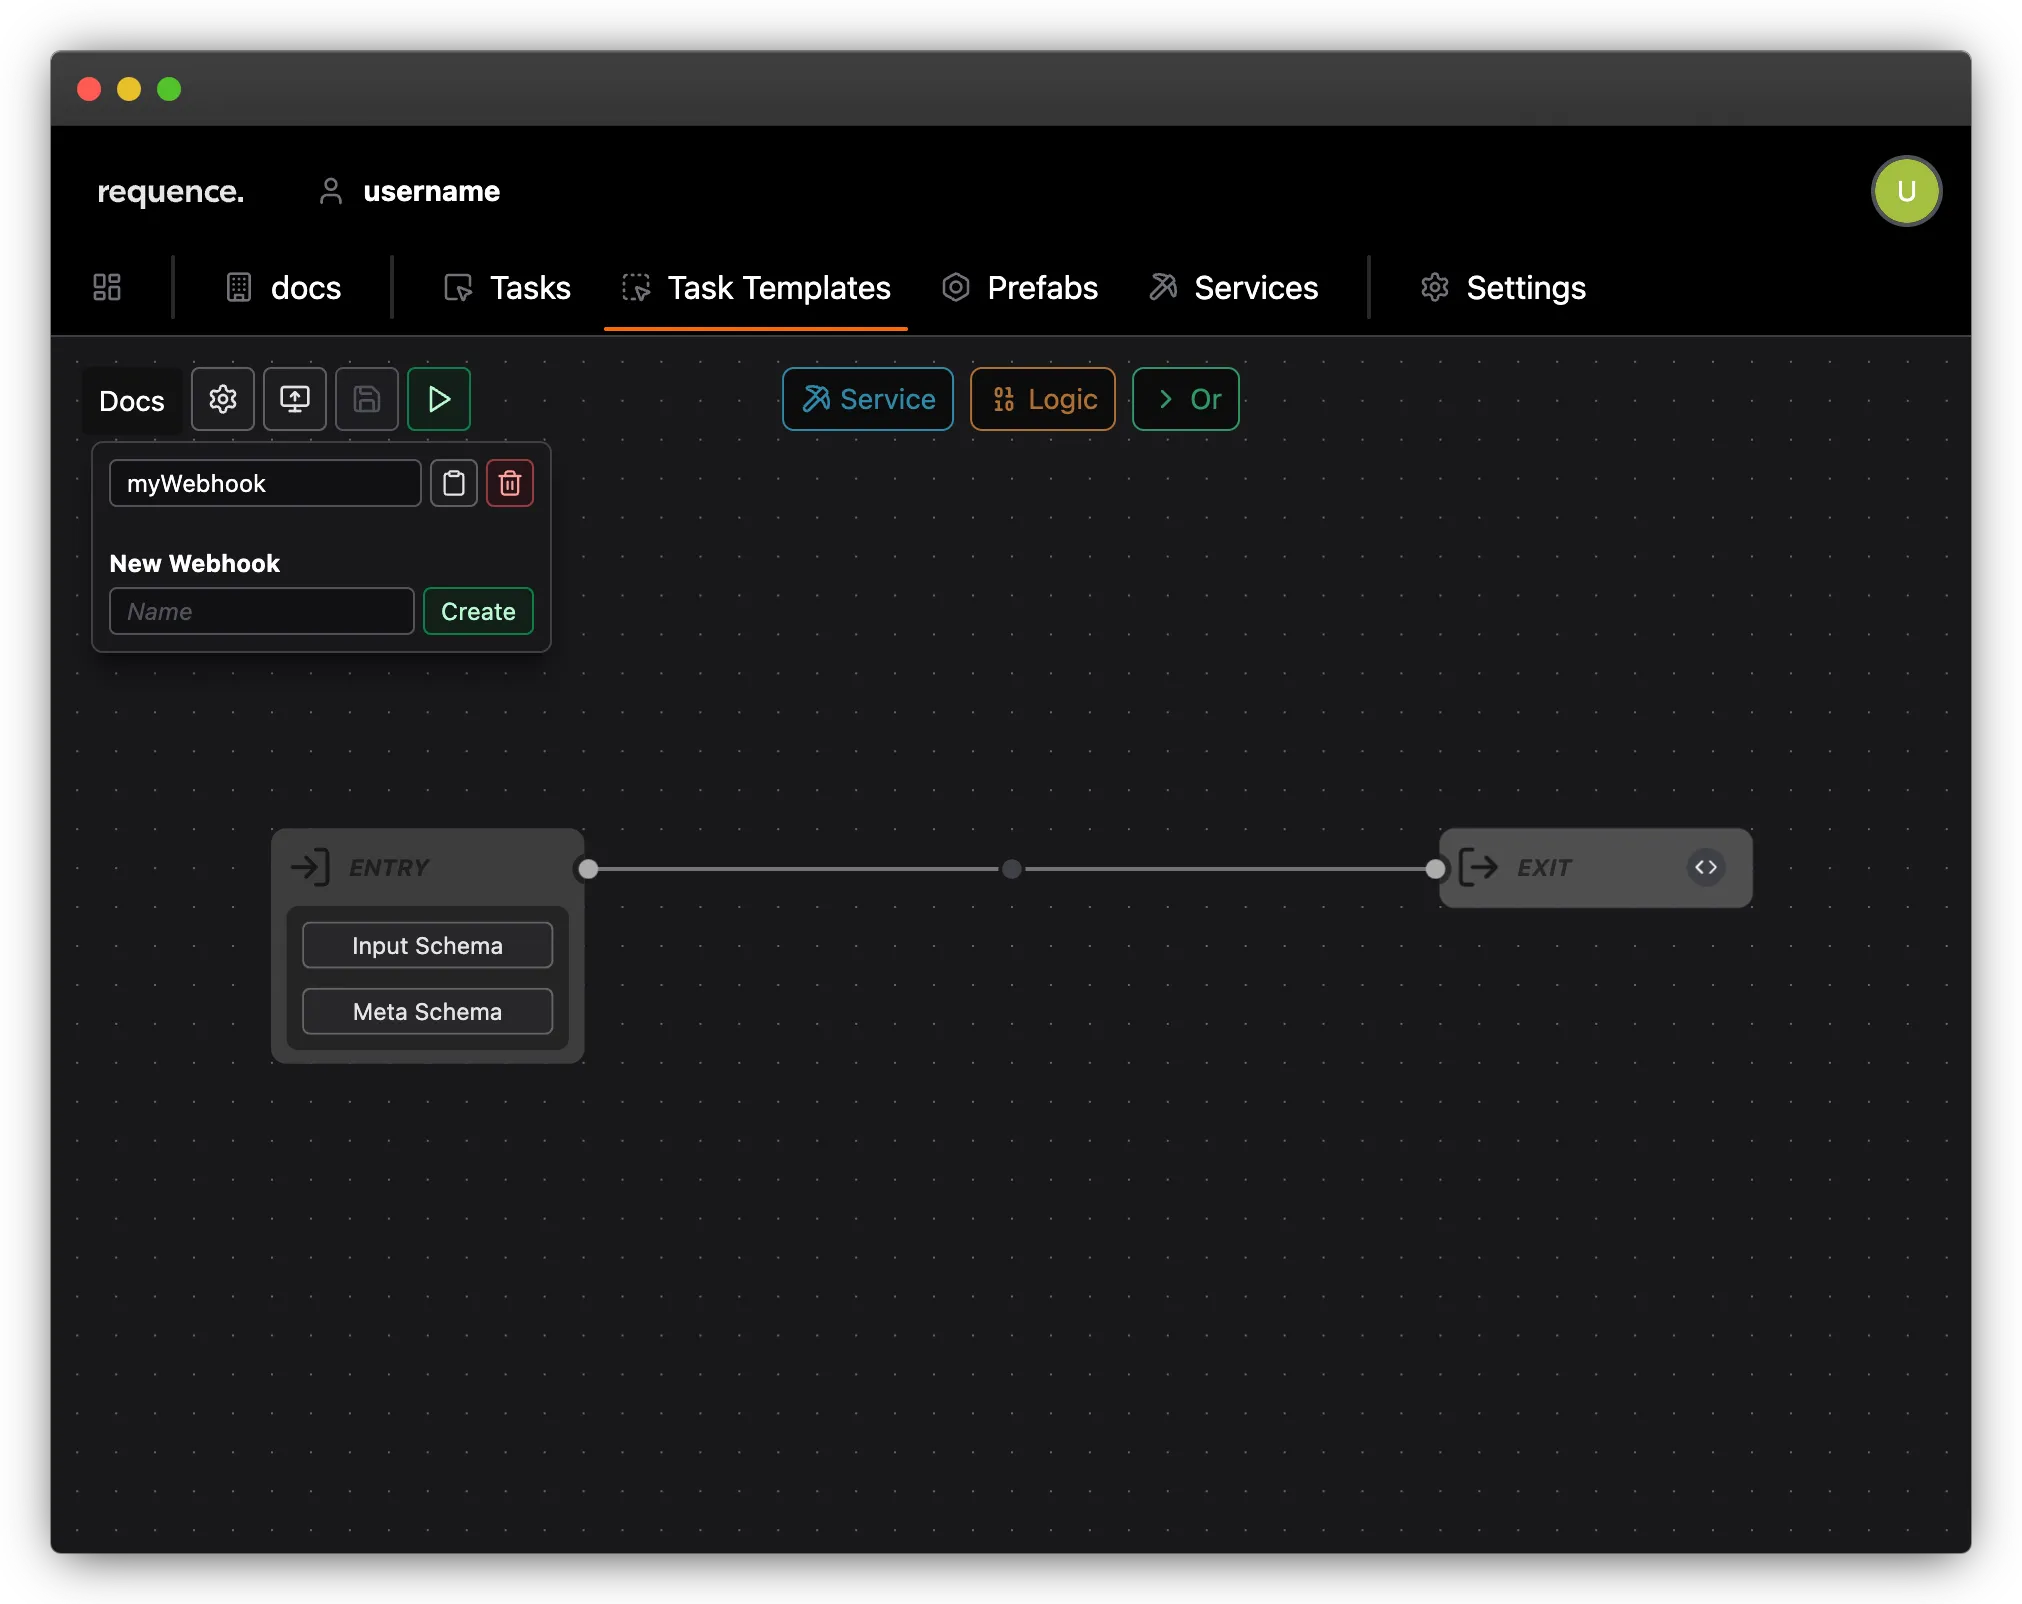
Using a webhook
Section titled “Using a webhook”The default webhook URL has the format:
https://[BACKEND_URL]/api/webhook/[WEBHOOK_KEY]/wait
Awaiting execution
Section titled “Awaiting execution”You can send a POST request to webhook URL with a JSON body containing the fields input, meta, and name.
The name field is optional and is only used to make it easier to identify the task in the task overview within the UI.
{ "input": { "someData": "depending on the task template" }, "meta": { "someMeta": "depending on the task template" }, "name": "optional for easy identification"}This will start a new task and keeps the request active until the task comes to an end (successful or failed).
Start execution and poll for result
Section titled “Start execution and poll for result”In some situations, a long-lived request may not be suitable (e.g., due to client-side timeouts). In such cases, it is also possible to start the task, receive an immediate response, and retrieve the result later.
To do this, simply remove the /wait postfix from the URL. All other parameters (body, request method) remain the same.
https://[BACKEND_URL]/api/webhook/[WEBHOOK_KEY]
This will immediately return a JSON response containing a result URL. This URL provides the status of the task and, if it has completed, the result.
{ "resultUrl": "https://[BACKEND_URL]/api/webhook/[WEBHOOK_KEY]/[TASK_ID]"}{ "status": "successful", "result": { "someResult": "someValue" }}